Telegram Auto Forwarder
Requirements
Required Software
You need to install following software on your compuer, Before using this bot.
Git - https://git-scm.com/downloads
Heroku CLI - https://devcenter.heroku.com/articles/heroku-cli#download-and-install
Python3 - https://www.python.org/downloads/
Python Dependencies
Open CMD in side your project directory.
Run Following command to install required dependencies
python3 -m pip install -r requirements.txt
First Step - Authenticating Locally
After Installing all the required Software and Dependencies,You need to run the bot on your computer at least once.
Open CMD in your project directory and run below command,
python3 test3.py
It will ask a Phone number or Bot token from you.Enter your Telegram Enabled phone number. Then they will send you OTP code to your telegram app or as a SMS. Enter it in CMD when it asks
Second Step - Add or change Source file
If you need to change or add new Source and Destinations, Just edit sources.txt file in project folder and add them, But before adding a source or destination, you need to find the chat id of source or destination
Find Chat ID
- Open https://web.telegram.org and and log in
- Click on the source or destination you want to find chat id
- Look at the URL,
If it looks like this, https://web.telegram.org/#/im?p=g377422492
Chat id is 377422492,
If it looks like this, https://web.telegram.org/#/im?p=c47425654_356767
Chat id is 47425654
Please make sure that your chat id is only containing numbers.Letters or any special characters should not be in Chat id
Add or change Source file
Then add sources and destinations to .sources.txt in following format,
Source1:Destination1
Source2:Destination2
Source3:Destination3:Optional Comment to identify source and destination
Source3:Destination4
Source4:Destination1:Optional Comment to identify source and destination
Source4:Destination2
Third Step - Upload to Heroku
Login to Heroku
This is not an essential step, But if You asked to login to Heroku when your try to execute git commands given below, Please execute this command
heroku login
It will ask to Press any key.After pressing a key a web browser tab will be opened.Login with your Heroku Account username and password.Then close browser window.
When you logged in using Browser window, CMD will automatically display
Logged in as <Your email>
Upload to Heroku
Open CMD in your project directory and run below commands,
git add .
git commit -m "initial"
git push
Now you have successfully uploaded your app to Heroku, It will start running immediatly after uploading.
Start / Stop the bot
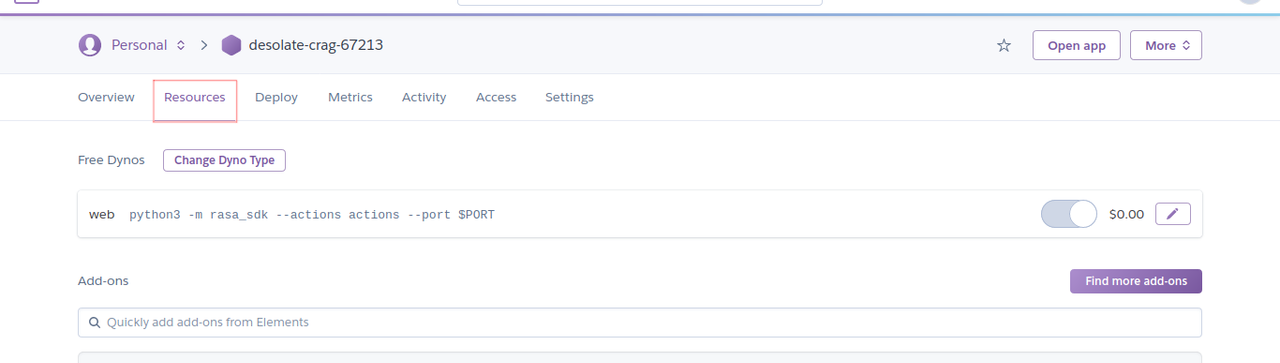
If you need to Stop the running bot or Start it again, Just go to https://dashboard.heroku.com/apps/ and log in and then You will see your app there, click on it
Then Click on Resources
Then Click on pen icon highlighted in below image
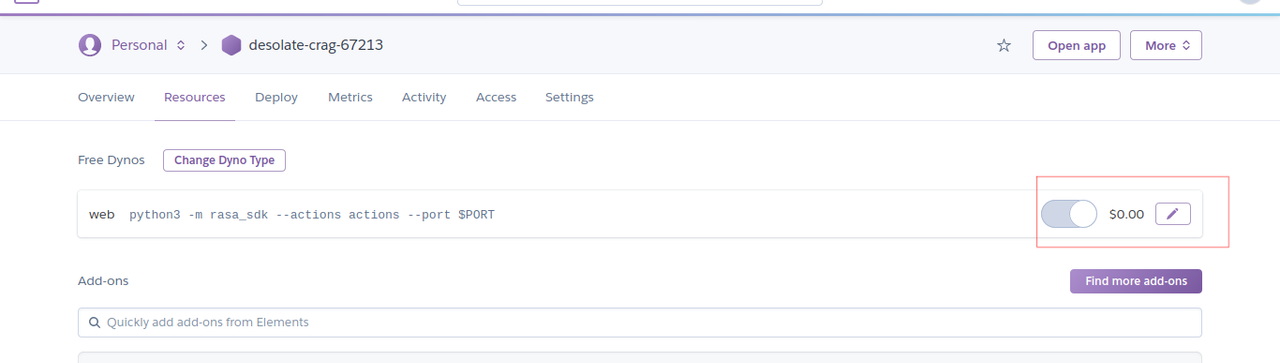
Now you will see a on/off button, using that button you can Start or Stop your bot.Please make sure that you press on “Confirm” button after starting or stoping the bot.